Well, after Christmas, taking advantage of the British tide!!
 |
| Let's hear the Old Man !!! |
AEC Mk III British Armoured Car, by Accurate.
 |
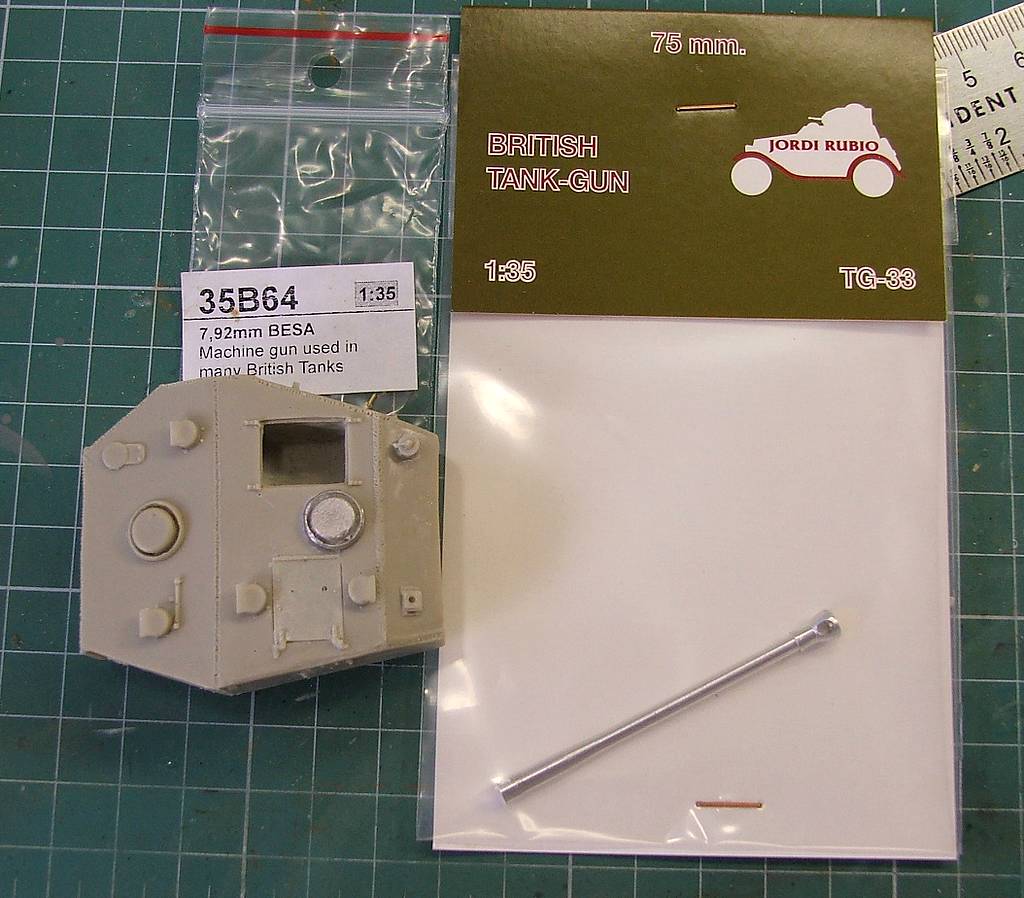
| Armoured car AEC Mk III with 75mm gun |
 |
| AEC Mk III with tyres in reversed instalation... |
 |
| AEC Mk III - 3 views George Bradford drawing |
The kit:
I got this old kit from Accurate on eBay. my luck that I got for a bargain ...
 |
| AEC Mk III from Accurate Armour |
The kit's box: multimedia kit, with resin, PE and white metal parts
 |
| Accurate's booklet |
 |
| The white metal parts: transmission, suspensiuon and axes.. |
 |
| The hull: a brick of resin.... |
 |
| Turret and wheels... |
 |
| Accurate AEC resin kit, before the cleaning.... |
 |
| The "organic" PE sheet, very simple... |
I started the building by the book, assembling the lower parts of the hull. To built the metal parts in the resin, I use the Panzerserra's mixing glue technic: First, I use superglue (cyanoacrylate) to stabilized the part (minimum drop only) in one little part of the surface to be glued. Around this area with cyanoacrylate, I apply epoxy glue (the fast version) without one contact to another. The principle is that cyanoacrylate glue stabilizes the part while the epoxy truly promotes adhesion.
 |
| Building the AEC's belly... |
 |
| The AEC armoured car on her own feet ... |
 |
| Some little and necessary upgrades... |
I hate turrets without movement...Not for play, but the turret with movement prevents gun damage....To turn my turret moveable, I built a small device to allow the rotation: plasticard and screw, glued in the hull's top.
 |
| The movement device: fast and easy... |
Now, a little trick for the gun alignment: inserting a drill bit in the muzzle brake to align the gun barrel in horizontal...
 |
| Alignment is visible with the drill bit in the muzzle brake |
The British girl is almost ready...
Adding plastic and metal details:
The aerial is an acupuncture needle....
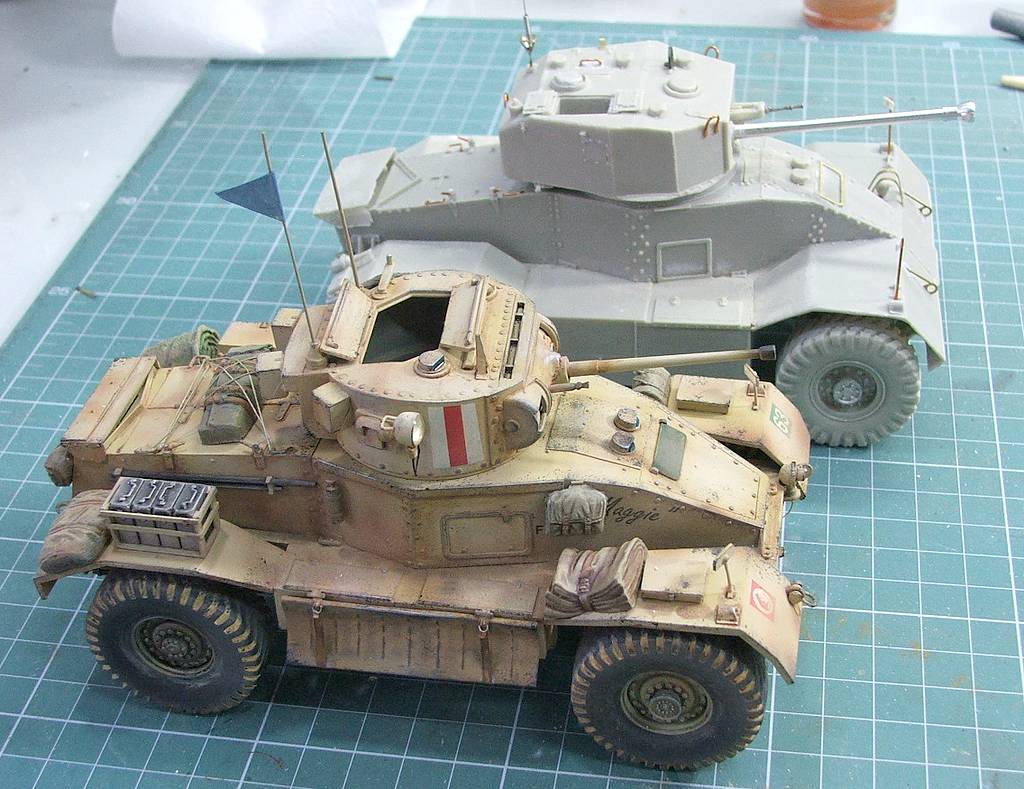
A size comparison with AEC Mk I:
 |
| The two AECs cars, side by side.... |
White primer:
And another interesting pic: Notice the size of the armoured car, side by side with Sherman Mk V. The wheeled girl is very huge !!!
 |
| AEC mk III and Sherman MkV. Two huge girls... |
The kit does not come with decals. For my vehicle markings, I found this reference:
 |
| AEC Mk III from 2nd Household Cavalry Regiment, 8th Corps, Normandy, 1944. |
I made my own decals using a HP Laserjet Color and transparent decal papers:
 |
| Household Cavalry markings... |
But, first of all, let's to paint the girl...Green and tonal variations...
And the best part: the decals !!!
After the weathering, the AEC Mk III was ready for action.
 |
AEC Mk III from 2nd Household Cavalry Regiment, 8th Corps
left view |
 |
| Notice the searchlight |
 |
AEC Mk III from 2nd Household Cavalry Regiment, 8th Corps
right side |
 |
AEC Mk III from 2nd Household Cavalry Regiment, 8th Corps
rear view |
 |
AEC Mk III from 2nd Household Cavalry Regiment, 8th Corps
left side |
 |
| AEC Mk III from 2nd Household Cavalry Regiment, 8th Corps |
Thanks for follow, Boys !!!